
Using a CPAP machine can be life-changing for those with sleep apnea but only if it’s comfortable enough to use consistently. One of the most overlooked factors in ensuring comfort is proper humidity control.
Too little humidity can leave you with a dry throat or nasal irritation, while too much can lead to disruptive rainout and water buildup.
This guide walks you through how to fine-tune your CPAP humidity settings to reduce discomfort and improve therapy effectiveness. You’ll learn how to:
-
Understand why humidity matters in CPAP therapy
-
Prevent rainout with smart setup strategies
-
Make seasonal adjustments for year-round comfort
-
Choose between manual and auto humidity settings
-
Troubleshoot common CPAP humidity issues
By the end, you'll know exactly how to customize your CPAP humidification setup—ensuring restful, uninterrupted sleep. Plus, you'll discover practical accessories from Your CPAP Shop that can make all the difference.
Understanding CPAP Humidity
Why Humidity Matters for CPAP Comfort
CPAP machines deliver pressurized air to keep your airway open during sleep. However, this airflow can dry out your nose and throat. A humidifier adds moisture, making the air more comfortable to breathe and reducing irritation.
If you're seeking better comfort, Your CPAP Shop offers a range of humidifier-compatible accessories designed for optimal airflow and moisture control.
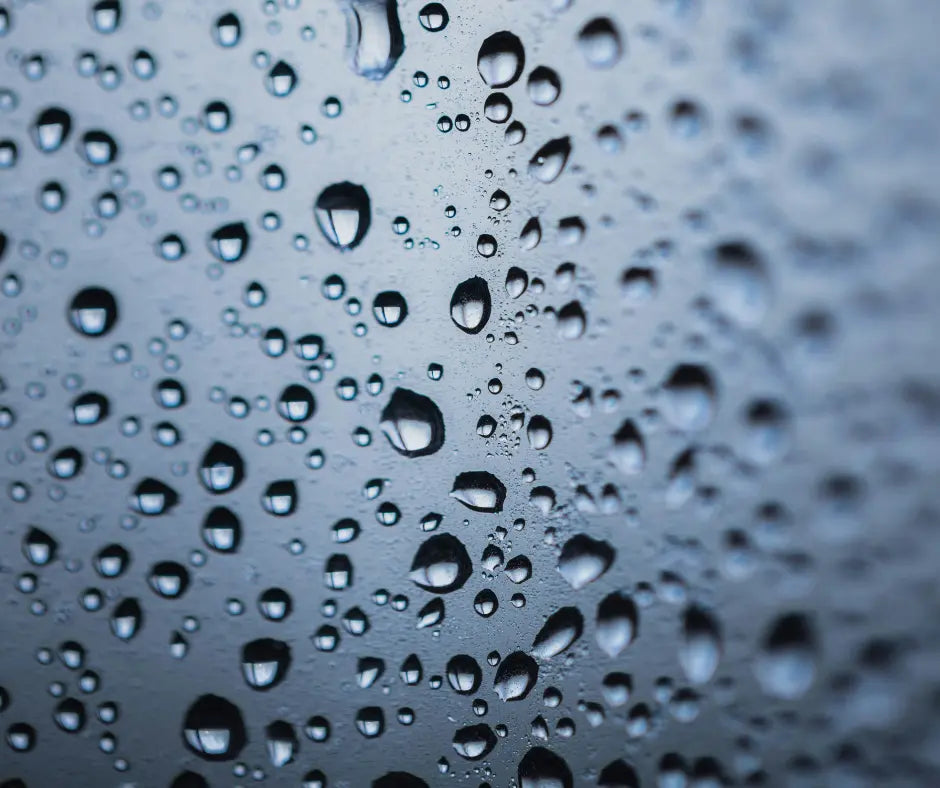
What Is Rainout?
Rainout occurs when humidified air cools in the tubing and condenses into water droplets, leading to:
-
Gurgling or spitting sounds
-
Damp masks or pillows
-
Interrupted sleep
Rainout is common in cooler rooms and can be minimized with proper settings and heated tubing, which is available from Your CPAP Shop.
The Benefits of Using a CPAP Humidifier
Humidifiers help prevent side effects like nasal congestion, sore throat, and nosebleeds. According to a review in Sleep Medicine Reviews, humidification reduces mucosal inflammation and improves sleep comfort, especially in dry climates or during winter.
Adjusting CPAP Humidity Settings
How to Manually Adjust Humidity
-
Locate the Settings Menu: Most machines have a dedicated humidifier option.
-
Start Low: Begin with a setting of 2 or 3 out of 8.
-
Adjust Gradually: Increase by 0.5–1.0 increments every few nights until symptoms improve.
-
Monitor Changes: Keep track of any discomfort or condensation.
Many CPAP devices from brands like ResMed and Philips offer both manual and auto modes. If unsure, refer to your machine's guide or consult your supplier — like Your CPAP Shop — for tailored product advice.
Manual vs. Auto Settings
|
Feature |
Manual |
Auto |
|
Control |
Full user control |
Machine adjusts for you |
|
Best For |
Custom preferences |
Simple, hands-off operation |
|
Drawbacks |
Trial and error needed |
Less control over fine-tuning |
Dr. Jennifer Lee, MD, a sleep specialist, recommends using auto mode during travel or seasonal changes, but switching to manual settings when fine-tuning at home.

Tips for Optimal CPAP Humidity
Seasonal Adjustments
-
Winter: Indoor heating dries the air. Increase your humidifier setting.
-
Summer: Reduce settings to avoid rainout when ambient humidity is high.
-
Spring/Fall: Be flexible; the shift in weather can require frequent changes.
Use insulated tubing sleeves and check the temperature of your sleeping environment. Accessories like tubing covers and climate control systems are available from Your CPAP Shop.
Incremental Adjustments
Sleep technologist Lisa Patel recommends adjusting humidity in 0.5-unit increments. Wait at least 2–3 nights before making further changes to assess comfort and performance properly.
Avoid These Mistakes
-
Overcompensation: Drastic setting changes after a single uncomfortable night.
-
Neglecting Cleaning: Dirty humidifier chambers or tubing can cause bacteria buildup.
-
Using Tap Water: Always use distilled water to prevent mineral deposits.
Common Issues and Practical Solutions
Addressing Dryness and Irritation
If you experience nasal dryness or a sore throat despite using a humidifier:
-
Reassess your humidity setting and increase gradually.
-
Add a nasal saline spray at bedtime.
-
Ensure your mask is sealed properly to avoid leaks.

Preventing Rainout
To reduce rainout:
-
Use heated tubing.
-
Keep the machine below your bed’s height.
-
Slightly warm your room or lower the humidity setting.

Medication Impacts
Certain medications, such as antihistamines or antidepressants, can dry out your airways. If you're on these drugs, your CPAP humidity setting may need to be higher. Consult your doctor and monitor changes in comfort accordingly.
Evidence-Based Case: Reduction of Nasopharyngeal Symptoms Through Heated Humidification
A randomized crossover clinical study with 20 adults who had moderate to severe sleep apnea found that using heated humidification helped reduce dry throat and nasal symptoms. People also reported using their CPAP machines slightly longer each night—from 5.2 to 5.5 hours. This shows that adding heated humidity, along with the right tubing and room conditions, can make CPAP therapy more comfortable and easier to stick with.
FAQs
What is the ideal CPAP humidity setting?
There is no universal setting. Most users start between 2–4. Adjust gradually based on your symptoms. Auto mode can help balance comfort automatically in fluctuating environments.
Can CPAP humidity help with nosebleeds?
Yes. Dry nasal passages can crack and bleed. Humidified air helps maintain moisture in your airways, preventing nosebleeds. If symptoms persist, speak to your healthcare provider.
Is it safe to sleep with high humidity settings?
Yes, but excessively high humidity can lead to rainout. Use heated tubing and monitor for condensation. Always follow manufacturer guidelines.
Making CPAP Therapy Work for You: The Final Touches
Whether you're dealing with dryness, battling rainout, or navigating seasonal humidity shifts, optimizing your CPAP humidifier settings can dramatically improve your sleep quality and therapy compliance. From understanding how humidity works to applying expert-backed adjustments, you now have the tools to breathe easier every night.
The key takeaway: small tweaks—like adjusting humidity by half-point increments or investing in heated tubing—can make a major difference in comfort and effectiveness.
Sleep therapy doesn’t have to be a struggle. With the right approach and accessories, restful nights are within reach.
Need help picking the best setup for your needs? Head to Your CPAP Shop for trusted gear, expert advice, and quick Canadian shipping.